Authentication
Learn how to connect to Alloy's Unified API and make requests. If you've read the Quick Start, you can skip this section.
Overview
When connecting to Alloy's Unified API, you must authenticate the frontend and backend:
- API Key is needed to authenticate outgoing requests to the Unified API from your backend server
- JWTs are needed to securely render the Alloy Modal from your application's frontend
JSON Web Tokens
As mentioned above, frontend authentication is required to render the Alloy Modal within your application's frontend. The Alloy Modal helps users securely connect their application and abstracts away complexities like OAuth.
To render the Alloy Modal, we require you generate a JWT on your server and pass that JWT for use on the frontend. For more information on how to render the JWT, see our quick start.
Pro Tip: The JWT is short lived and expires after 1 hour. You must regenerate it every hour. JWTs are also user-specific.
Setting up Authentication
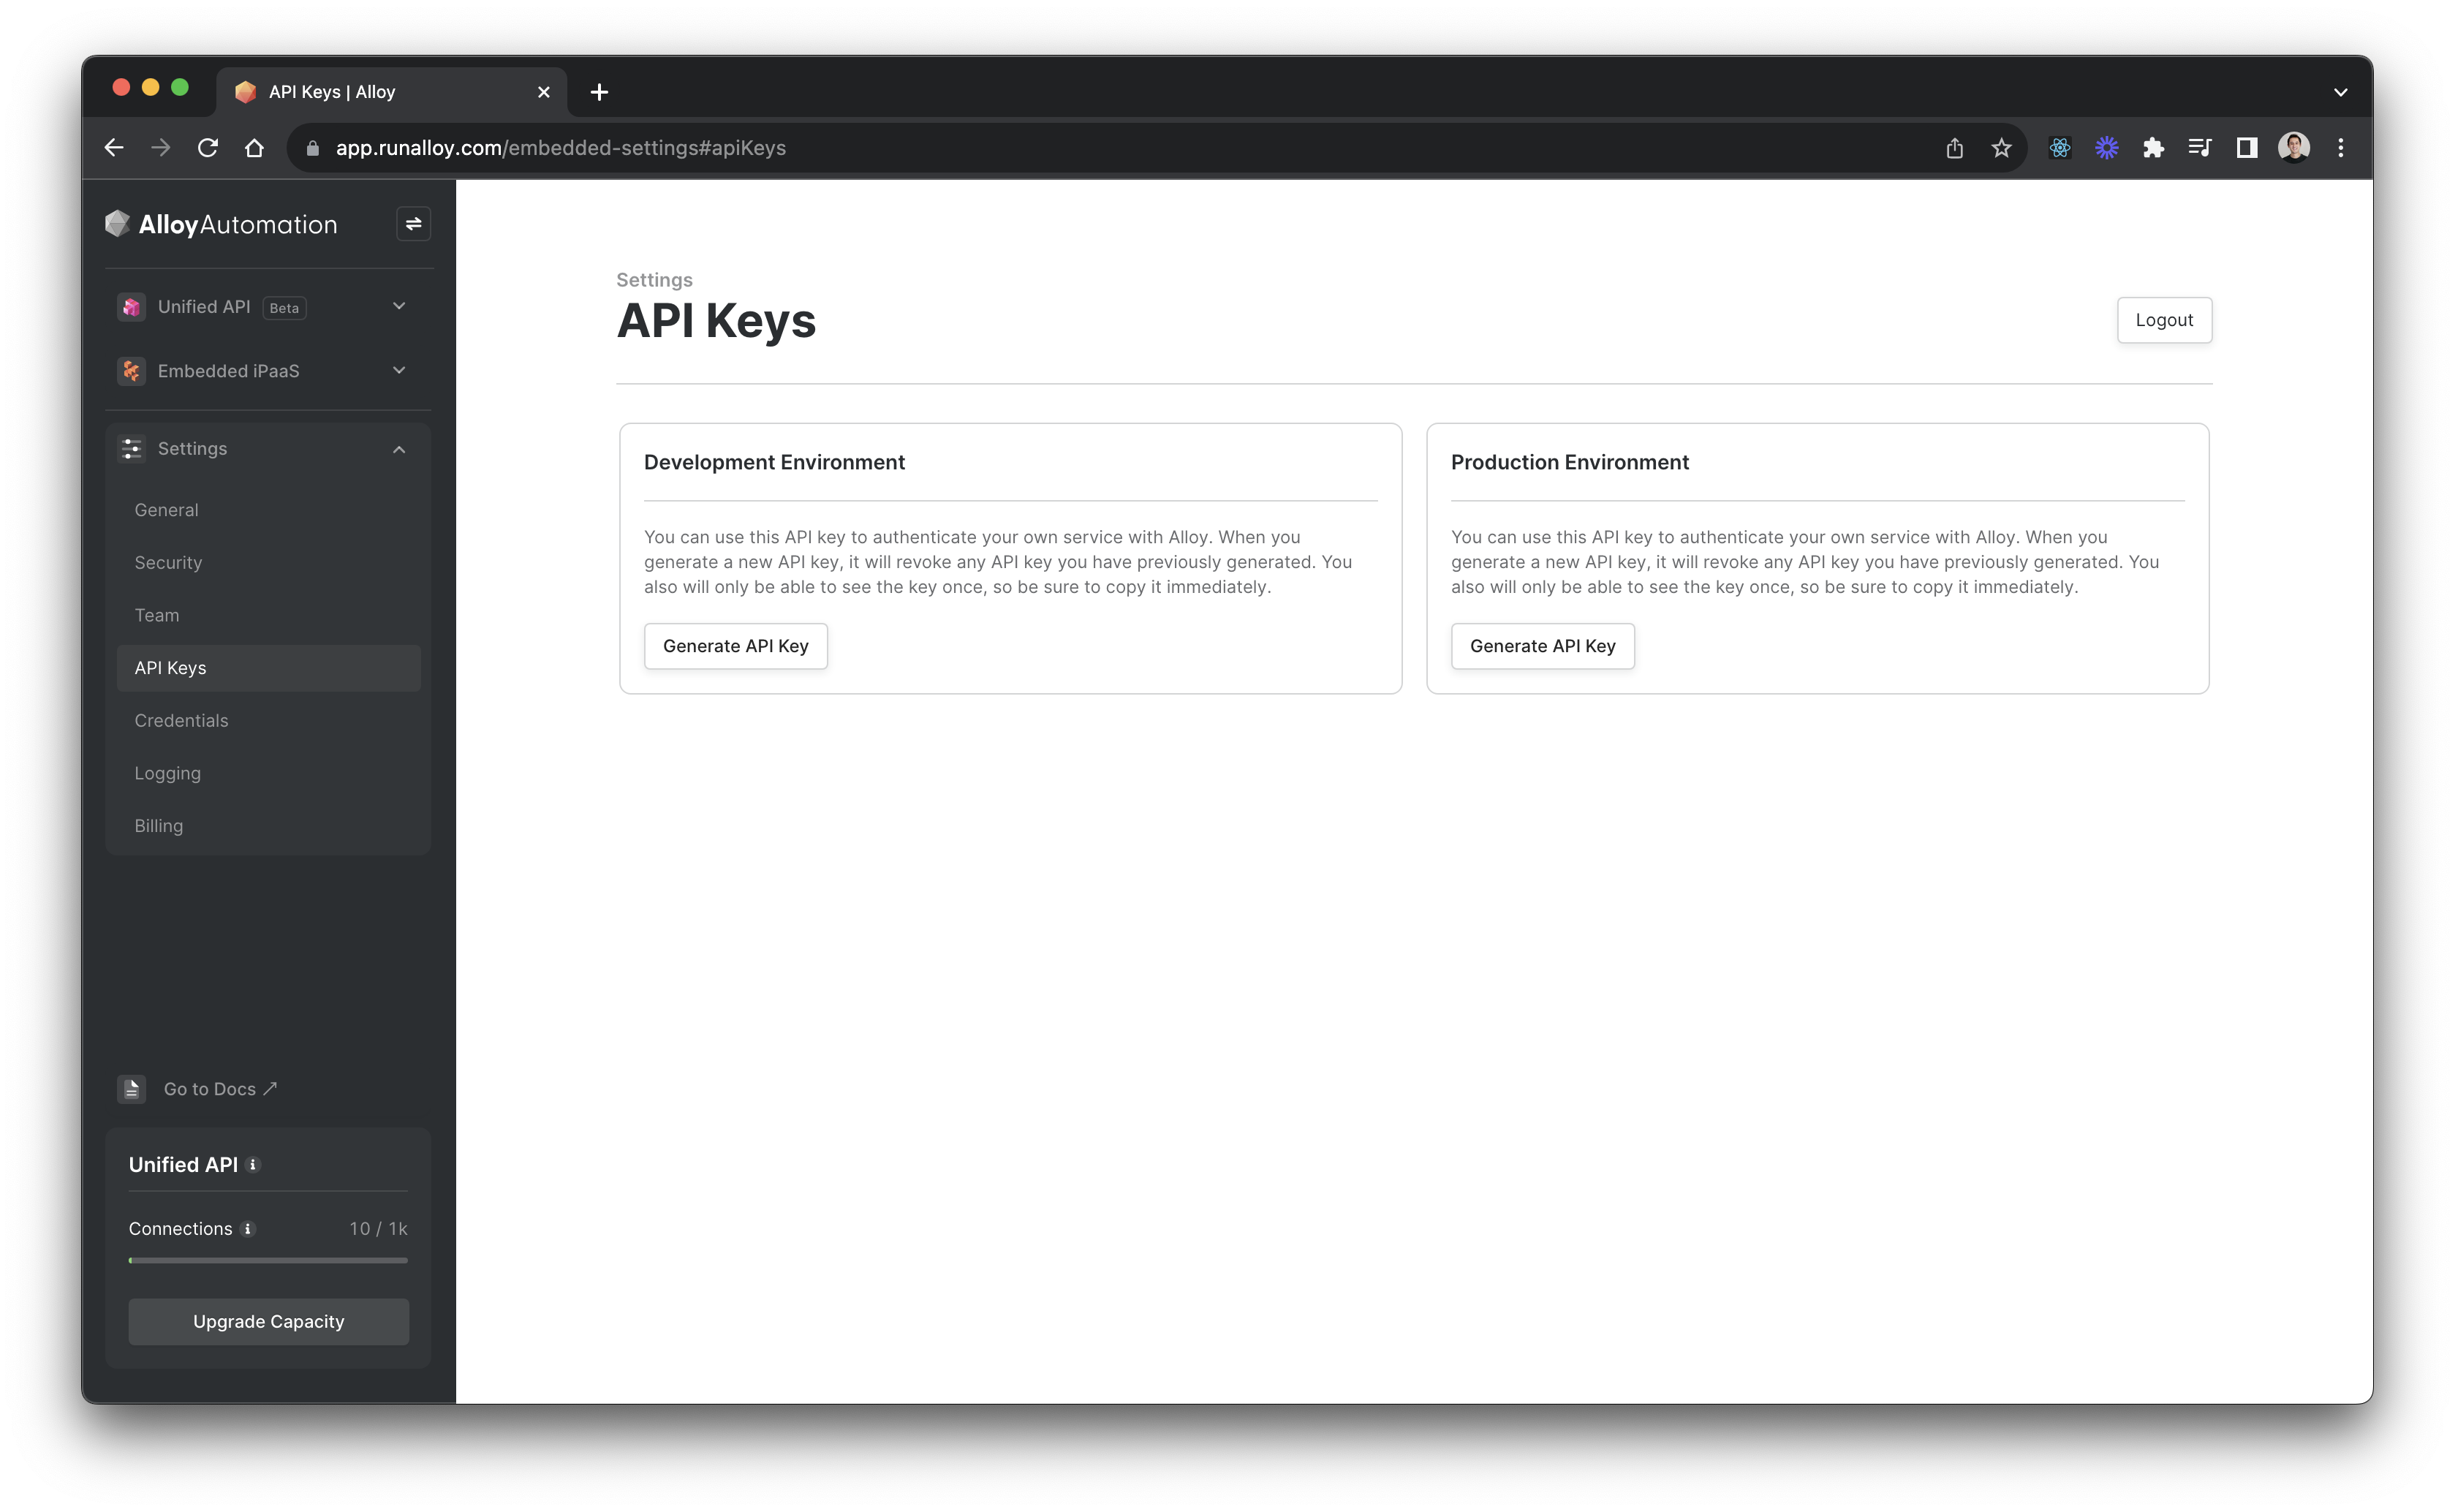
To get started, you'll need an API key. Obtain this by navigating to the Settings tab and then selecting API Keys from within the Alloy Console.
For testing purposes, use your Development key. When you're ready to go live use your Production key. It's important to never share these keys with anyone outside your organization otherwise your account data can be compromised. If you suspect your key has been compromised, regenerate your API key which will invalidate the previous key.
Backend Set Up
On your backend, first create an end user. An end user represents a tenant in the ISV's system. To get started, we'll need to invoke the POST Create User endpoint. This endpoint will generate a unique userId which we'll use later on.
Make sure to pass along a username in the body. This username must be unique for each user you create.
 curl --request POST \
     --url https://embedded.runalloy.com/2023-12/users \
     --header 'Authorization: bearer YOUR_API_KEY' \
     --header 'accept: application/json' \
     --header 'content-type: application/json' \
     --data '{ "username": "YOUR_USERNAME" }'
This endpoint will return a unique userId as seen in the below response:
{
  "userId": "658c703c524d011f001fe3e4"
}
Installing the Frontend SDK
Now that you've created a user, it's time to connect your application's frontend to the Unified API. To do so, use Alloy's Frontend SDK to instantiate the Alloy Modal. The Alloy Modal makes it easy for your users to connect to the Third Party App of their choosing and abstracts away the complexities you'd need to otherwise do yourself (i.e. credential management, redirect URLs, etc).
To install the frontend SDK, install via npm or put the following snippet in the header of your application:
npm install alloy-frontend
<script src="https://cdn.runalloy.com/scripts/embedded.js" type="text/javascript"></script>
With the SDK installed, the next step is to render the Alloy Modal. To show the modal, you'll need to trigger the frontend SDK's authenticate() method.
💡 Note: if you’re interacting with the hosted Frontend SDK from a react app (i.e. you imported the HTML snippet), you can call these methods by invoking
window.Alloy.authenticate().
Passing the token to your Frontend
As mentioned above, we require generating a JSON Web Token to securely render the authenticate() method on your frontend. This token can be generated by making an API request to the GET /user/:userId/token endpoint. You must pass a userId as this JWT is specific to a user.
Request
curl --request GET \
     --url https://embedded.runalloy.com/2023-12/user/:userId/token \
     --header 'Accept: application/json' \
     --header 'Authorization: bearer YOUR_API_KEY'
Response
{
	"token": "XXXXXXXX.YYYYYYYYY.ZZZZZZZZ"
}
Call the setToken() endpoint and pass the JWT as the argument. This method authenticates the frontend SDK and allows you to render the modal.
Alloy.setToken("<YOUR_TOKEN>");
Rendering the Modal
Next, call the authenticate() method to render the modal.
This method takes the following arguments:
app: the name of the app you want to authenticate. A complete list of supported apps can be found by making a call to the GET List Apps API.category: the category you want to display (e.g.commerce,accounting,crm) . Use this field if you want to allow your users select the integration they should connect to. If you specifyapp,then this field cannot be set.
The callback returns a connectionId and success message.
Invocation
Alloy.authenticate({
  app: "shopify",
  callback: (data) => {
		console.log(data);
	},
})
Response
{
   "success": true,
   "connectionId": "123"
}
The data object returns a success flag and a credentialId as seen above.
Wrapping Up
In this article, we looked at how to authenticate requests to Alloy Unified API and how to securely pass JWTs to the frontend.
Updated 7 months ago